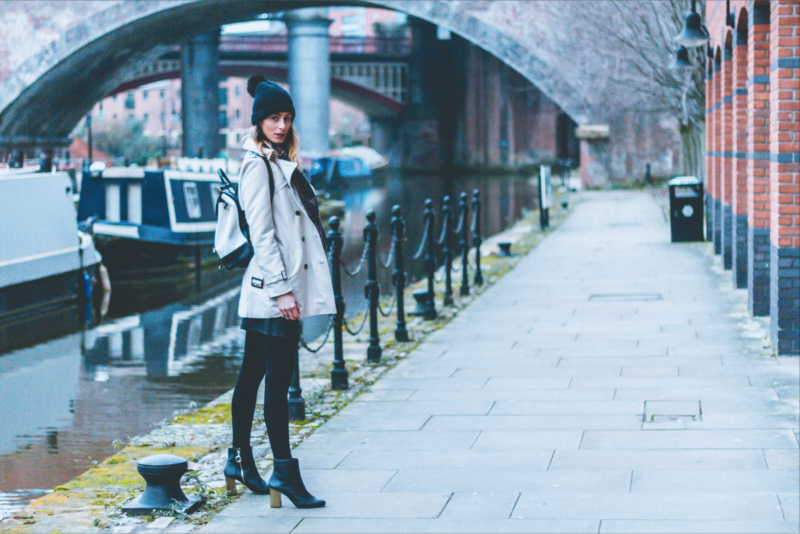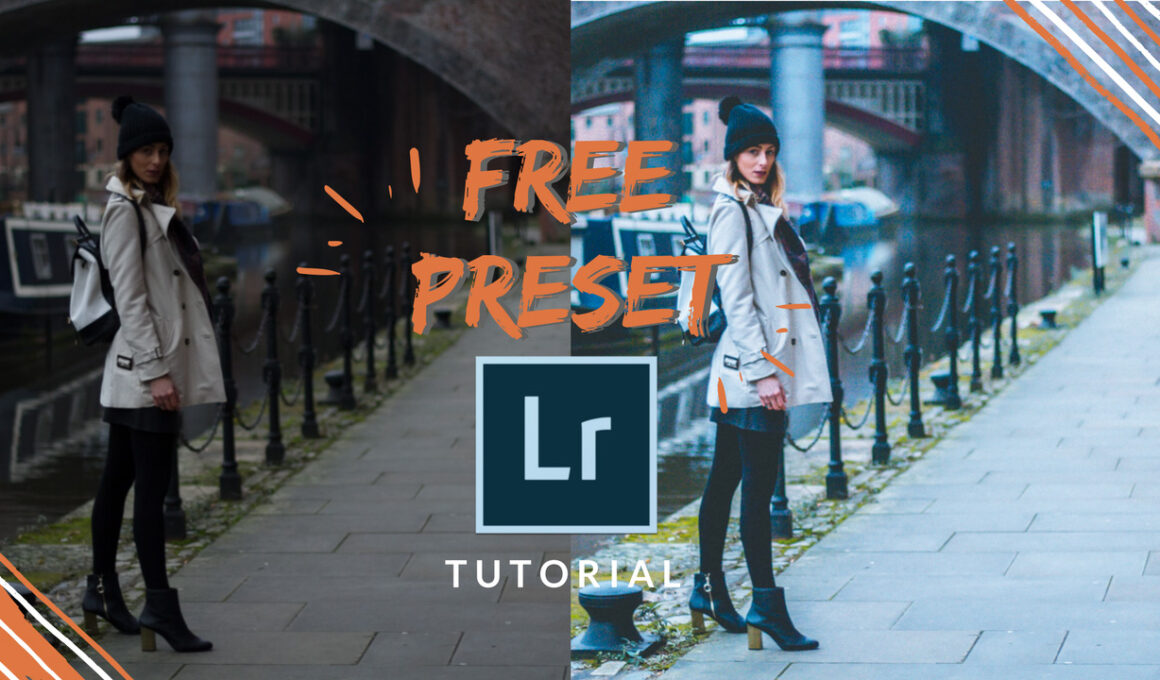
I’m thrilled to share something special with you today. Last week, I ran a poll on my Instagram, asking if you’d like me to make one of my Lightroom presets from my Adobe collection available for free. You voted, and the results were clear: you wanted the tutorial first!
Freebie: My Lightroom Preset and How to Use It!
I couldn’t wait to share both with you at the same time! So, there’s not only a fantastic preset to enhance your photos but also a step-by-step guide on how to use it effectively.
What is a Lightroom Preset?
For those who might be new to Lightroom, a preset is a pre-determined configuration of photo-editing settings. Think of it as a filter, but way more sophisticated. It helps you achieve a certain look and feel with your photos in just one click, saving you heaps of time while maintaining consistency across your images.
The Preset
The preset I’m sharing today is perfect for photos taken in wintery or dark conditions. It gives them a dramatic, film-like quality with enhanced cool tones and rich shadows. Whether you’re capturing snowy landscapes, frosty mornings, or cosy indoor scenes, this preset will add depth and atmosphere to your images.
How to Download and Install the Preset in Lightroom CC
- Download the Preset: Click here to download the preset file. It will come in a
.xmpformat, which is compatible with Lightroom CC and LR Classic 7.3+. - Open Lightroom CC: Ensure you have Adobe Lightroom CC installed on your computer or mobile device. Open the application.
- Import the Preset:
- On Desktop:
- Click on the
Filemenu and selectImport Profiles & Presets. - Navigate to the location where you downloaded the preset file and select it.
- Click on the
- On Mobile:
- Open the app and tap on the
...(three dots) icon in the top right corner. - Tap
Presetsand thenImport Presets. - Navigate to the location where you downloaded the preset file and select it.
- Open the app and tap on the
- Apply the Preset: Once imported, you’ll see “gabischiller.com” in your list of presets. Simply click on it to apply it to any photo you’re editing. You can adjust the intensity and tweak the settings further to suit your specific needs.
How to Use the Preset Effectively
1. Choose the Right Photos
This preset works best with photos that have wintery elements. Images taken in snowy conditions or those with cool tones will benefit the most from this preset.
2. Adjust Exposure and White Balance
After applying the preset, you might need to make minor adjustments to the exposure and white balance. Every photo is different, and these tweaks ensure the preset complements your specific image perfectly.
3. Fine-Tune Other Settings
Feel free to play around with other settings like contrast, highlights, shadows, and clarity. The preset is a starting point; personal adjustments will help make your photos uniquely yours.
Before and After
Here are a few examples of photos before and after applying the preset:
- Before: A dull, flat image taken on a winter day.

- After: A dramatic, moody photo with enhanced cool tones and cinematic quality.

Tutorial:
Share Your Creations!
I can’t wait to see how you use the preset! Please share your photos on Instagram and tag me (@gabischiller). I’ll be featuring some of your creations in my stories! I hope you enjoy using this preset as much as I enjoyed creating it. Happy editing!
This post includes affiliate links. If you decide to buy through these links, I may earn a small commission at no additional cost to you.


